Layout
One might say Quelea is divided into three sections: Schedule and Database, Preview and Live.
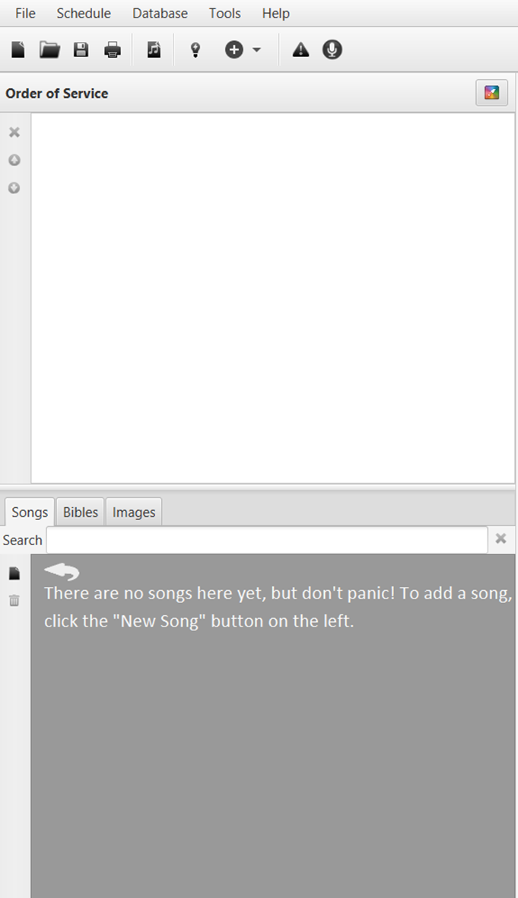
Schedule and Database
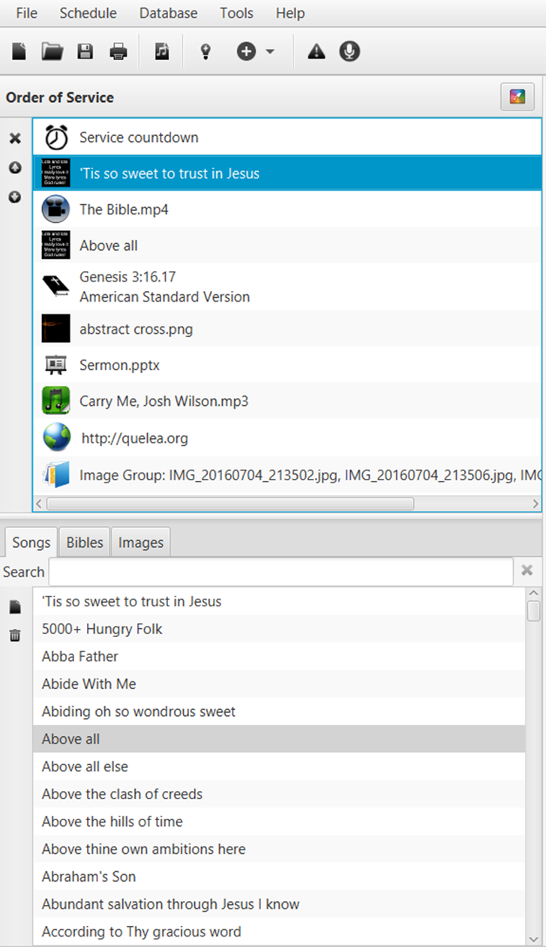
Below you see the Order of Service and the Database, where all your songs will be stored and can be organised for different occasion. The first time you start Quelea you will need to add songs to the database. Once you have added songs to the database you can start organizing them in the Order of Service, or a Schedule as it also is called.
Below is an example of songs in a database and an Order of Service (Schedule):
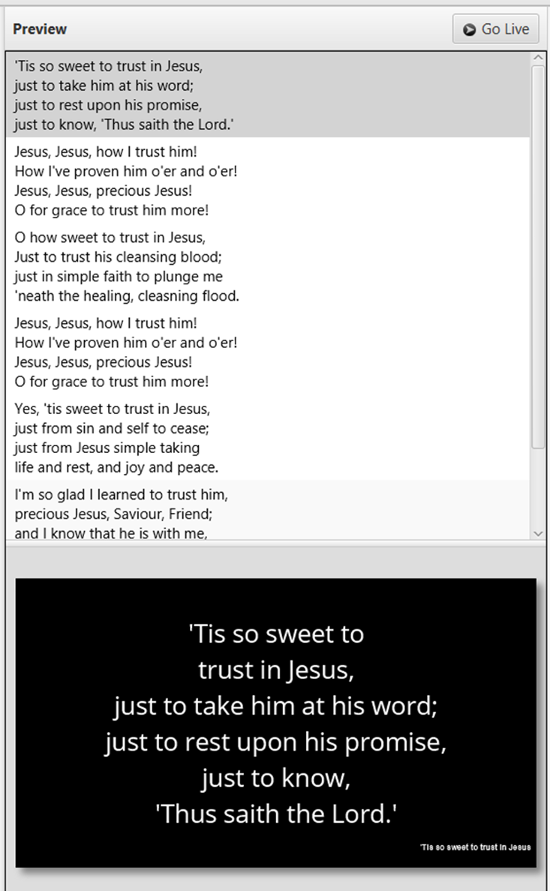
Preview
The preview allows you to see what your items will look like before you show them live. You can preview different slides by clicking the different text sections or by using your keyboard’s up and down arrow keys. When you are ready to show the item live, just click the “Go live” button.
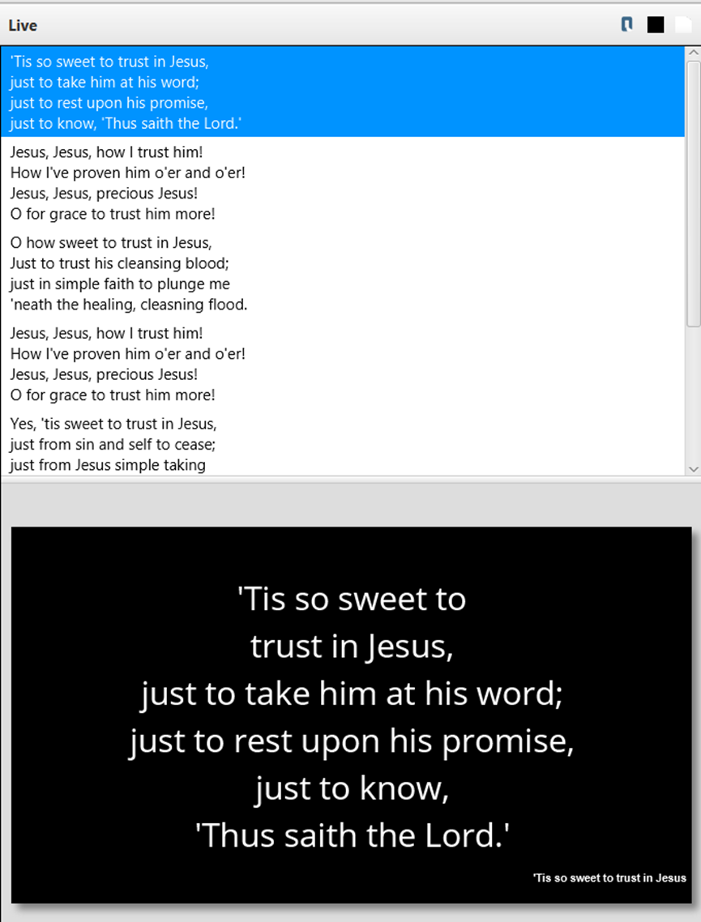
Live
In the live section you can switch between the slides by clicking the different text sections, by using your keyboard’s up and down arrow keys, the Page Up and the Page Down keys or by using section shortcuts (see Shortcuts and other things that are good to know). If you are not ready to show the text live just yet, you have three options to hide the text: Logo button, Black Screen or Clear screen.
Logo button
If you select the Logo button, the logo you have pre-assigned will appear and any changes of slide or item will not appear until you deselect the button.
![]()
Black Screen
If you select the Black Screen button, the projector output will be completely black, not displaying any changes of slide or item until you deselect the button.

Clear screen
If you select the Clear Screen button, any text will disappear and the background image/video/colour you have pre-assigned will be the only thing visible on the output (see Themes). Any changes of slide or item will not appear until you deselect the button.
![]()
← Chapter index - Short introduction to Quelea Setting up a projector →