Themes
In Quelea you can assign a certain layout to an entire schedule or individual layouts for each item. By default, the layout will be: black background and white text that is aligned to the centre of the screen for songs and to the left for Bible passages. For various reasons you might want to change this, e.g. to make it more visually pleasing or for readability reasons. If you have trouble finding a layout that works for anyone (for instance, some churches have found that dyslectic persons might sometimes be helped by different colours that others might prefer), you might want to take a look at the Mobile Lyrics feature, where each reader can assign their own colours.
Set a global theme
A global theme applies to all text-based items in your schedule, apart from timers and presentations. Start by clicking the colourful button in the upper right corner of the Order of Service section. You will see the following dialog pop up.
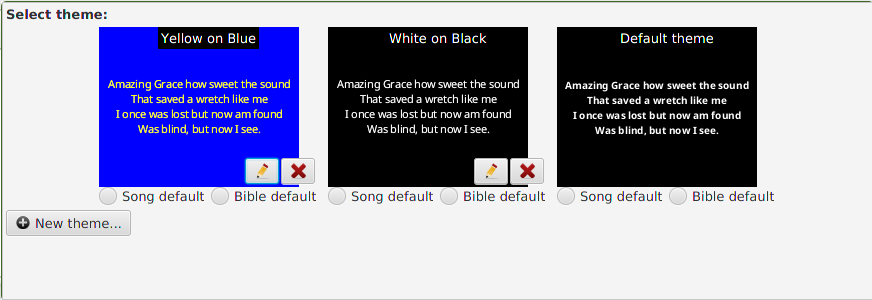
You will find two example themes along with the default theme. You can edit (pencil button) or delete (red x button) the two example themes if you wish, but the default theme is non-editable for you to always have a good standard option to revert to.
To select a theme, you simply click one of them and all items (songs or Bible passages) in your schedule will use that layout. You could also select one theme for songs and another for Bible passages using the options below the preview image.
If you would like to add your own theme, click the New Theme button in the left corner. Since [setting up a theme](#setting-up-a-theme “”) always is done in the same way, regardless if it is a global theme or an individual theme, we will look into it further after finding where to set up an individual theme.
Set an individual theme
To set up an individual theme you can click the colourful button appearing to the right of the item when hovering it. You can also reach it when editing the item by right-clicking it, selecting “Edit Song” and then selecting the tab “Theme”. The second method can be done with an item in the schedule (both with songs or Bible passages) or with a song in the song database. One thing to notice here is that the individual theme will override the default theme, but any other global theme (added by you or there by default) will override the individual settings you have made. This is an optional feature that can be changed in the options panel.
Setting up a theme
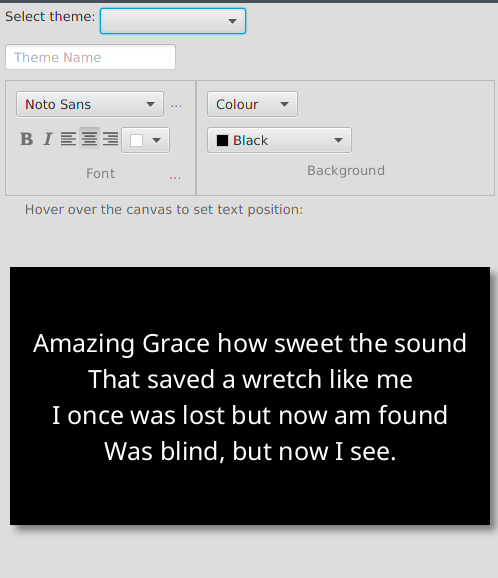
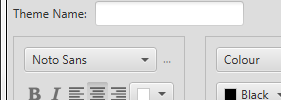
The only difference between setting up a global theme and an individual
theme is the first line “Theme Name” which is needed to be able to save
a global theme, other than that, the instructions are the same. As you
will see, you can change Font appearance, Background and Text position.
If you already have a theme you want to use, you can copy settings from
another theme using the dropdown menu next to “Select theme:”.
Font appearance
By default, there will only be six fonts available to you and “Noto Sans” will be the suggested font to use.
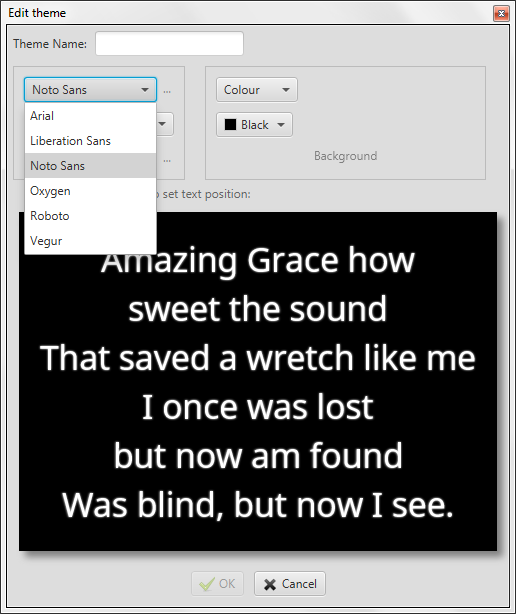
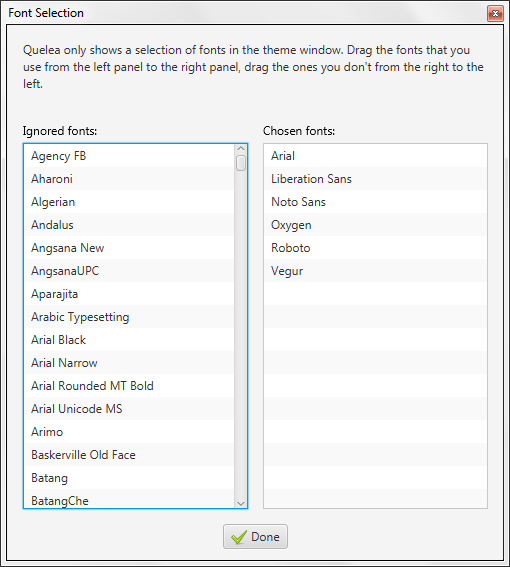
If you would like to add more fonts to choose between, you click the ellipsis (…) next to the drop-down menu.
That will open up a new window where you can drag and drop any font that you want to add from the left to the right, and any font you would like to remove from the right to the left.
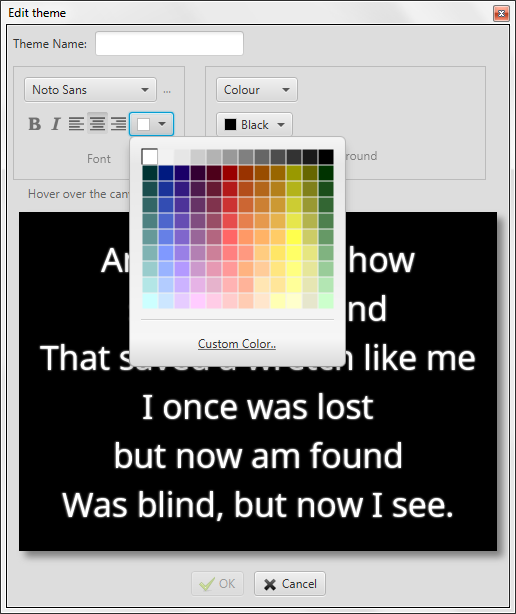
Once you have selected the preferred font, you can select the font appearance: if you want the text to be bold, italic, alignment to the left, centre or right, and the font colour.
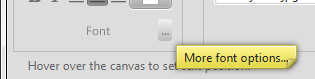
More font options – Translation appearance and Shadow settings
By pressing the ellipsis button (…) next to “Font” you find settings for the translated lyrics. You set it up in a similar way to the [previous font settings](#font-appearance “”).
You can also set up whether or not you want to use shadows and the appearance of them. You can activate or deactivate shadow, set shadow colour, shadow offset, shadow radius and shadow spread. All changes to the shadow settings will be previewed on the canvas, so you are immediately able to see the result.
![]()
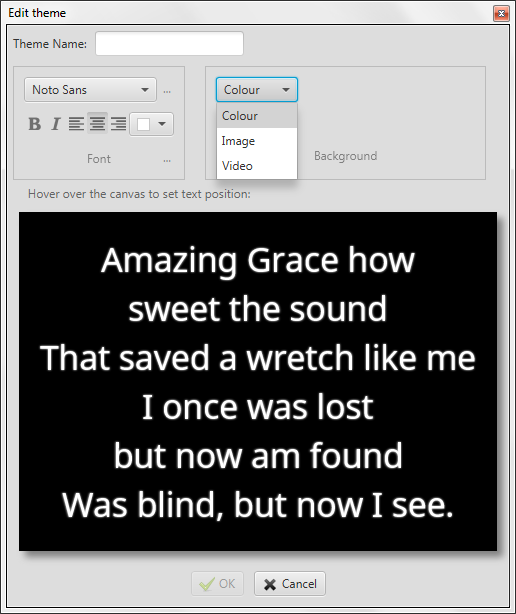
Background
In Quelea, you can set the background to be a colour background or a [video background](#video-background “”).
Colour background
If you choose a background colour you are advised to choose a colour that is a good contrast to the font colour. If you would choose two similar colours however, a warning will appear, telling you that it might be difficult to read.

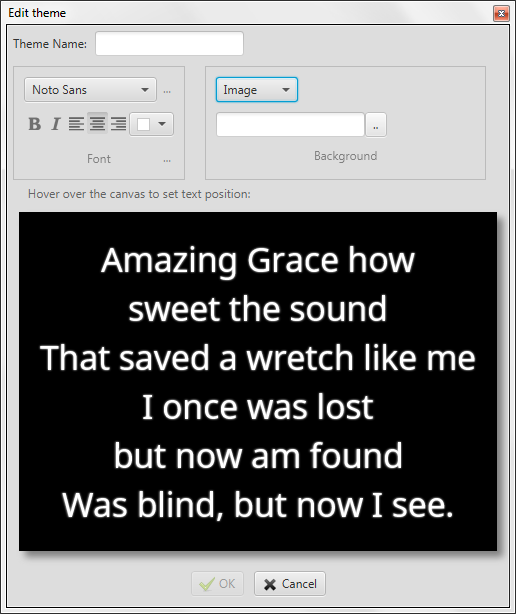
Image background
If you choose an image, you will have to browse to the desired image by
clicking the button next to the blank box. By default, the file browser
opens the Quelea image folder. If you would like to add your own image,
just browse to the folder in which it is stored, although you are
advised to first read the image guidelines stored in the “img” folder in
the Quelea main folder (IMAGE GUIDELINES.txt).
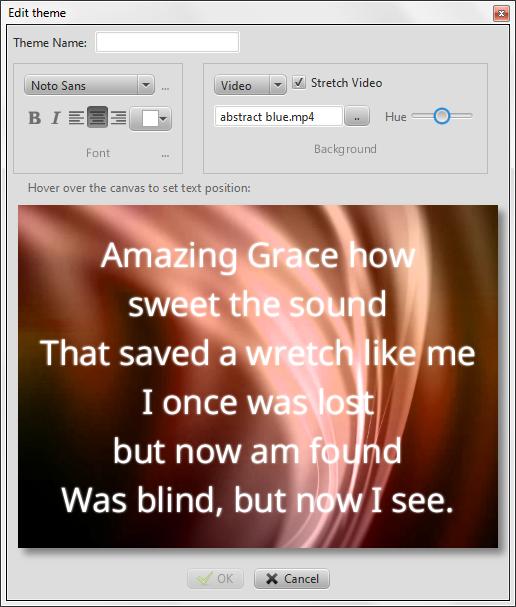
Video background
If you would like to use video backgrounds, you will need VLC media player installed on your computer. (Visit http://www.videolan.org/vlc/ to download it.) Similar to using an image as the background, you will need to browse to the desired video and the file browser will open the Quelea video folder first. (Note that you also can use live video as background, but that it requires advanced user settings; see Using VLCARG to set up live video background).
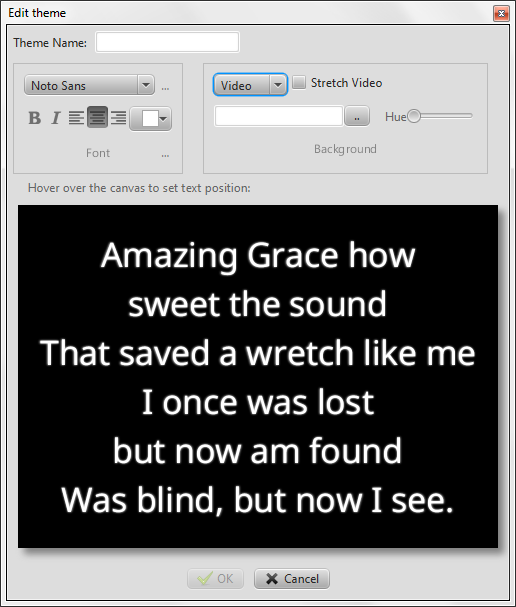
If you want, Quelea can stretch the video to fit the screen. You can also adjust the hue, if you would like different colours to your background video. Of course, this option is best to use only with abstract videos. (If you need more video settings, look into the advanced settings available through VLCARG mentioned earlier.)
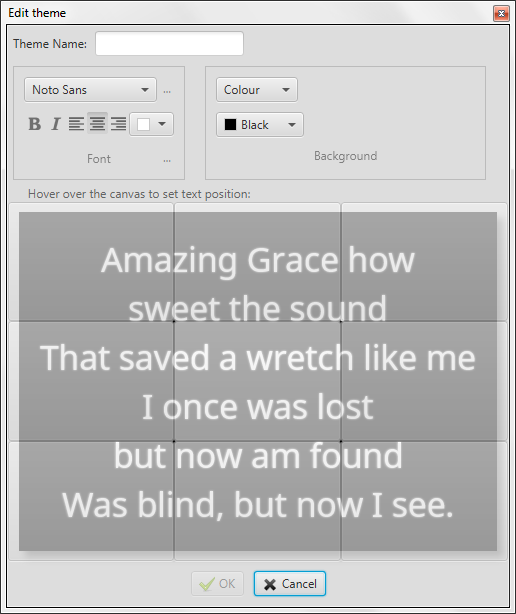
Text position
If you hover the mouse over the canvas, where the sample text is displayed, nine boxes will appear. By selecting one of them, you can set the text position best suited for your projection environment.
← Chapter index - Additional features Logo →