Adding songs to your database
Creating a new song
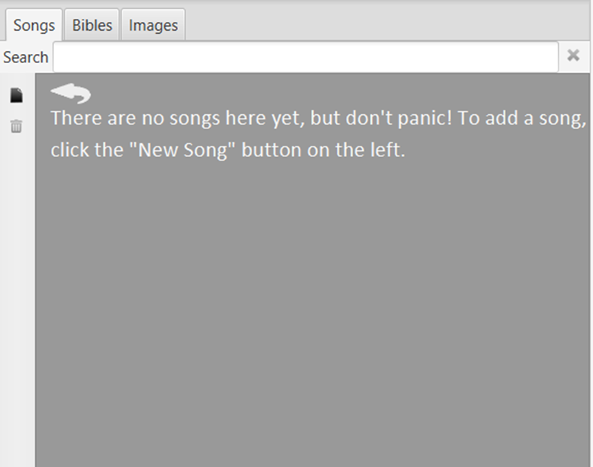
The first time you run Quelea your song database will be empty. A message will be visible, showing you where to click to add a new song to the database.
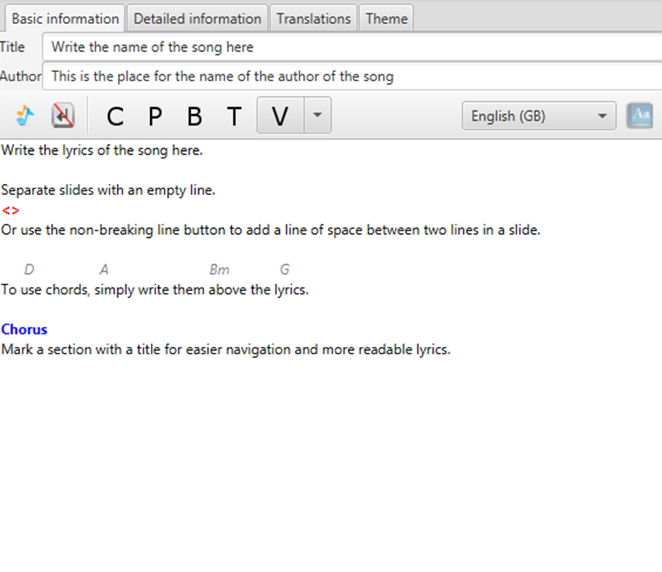
After clicking the button you will see the following dialog where you can add the name of the song and the author, along with the lyrics. You might also add chords that you later can use with Stage View. Just write the chords above the lyrics and they will automatically be recognized as such and hidden from the main view but visible on the Stage View when you go live with the item. It is also possible to transpose the chords by clicking the button with the two notes. If you assign labels to the sections, by using the buttons with a letter on them or by writing, you will later be able to use keyboard navigation to navigate through the song (see Section titles). See also Song Sequences if you want to avoid re-typing a section.
After you have added the lyrics, you might also want to add more information about the song, like CCLI number, Copyright or Year. You could also add a translation to a song or a separate theme for this song. For detailed information on how to do that see section 2. Additional features or follow the instructions under the dedicated tabs (Detailed information, Translations, Theme).
Occasionally you may notice that Quelea gets the type of line wrong - it may think a section header is lyrics for example, lyrics are actually chords, etc. If this happens, you can overrite the type by appending the following to the line:
//chordsto force the line to be a chord line//lyricsto force the line to be a lyrics line//titleto force the line to be a title line
Importing songs from other software
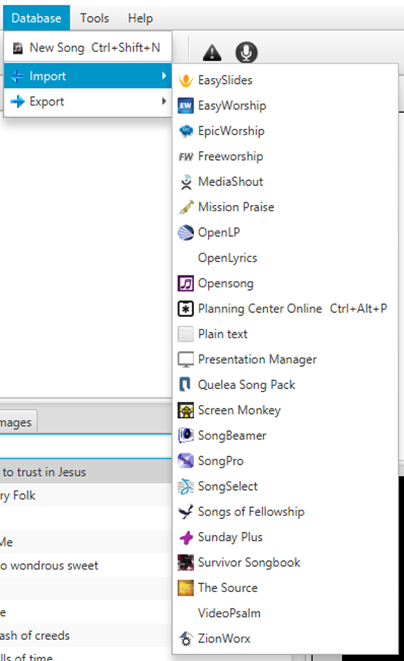
If you are migrating from other projection software, you might already have a database of songs that you would like to use. Instead of manually adding the songs one by one, you can use the Quelea import function. Quelea supports the import of databases from many of the most common software among churches, such as EasyWorship, OpenLP, EasySlides and many others. Simply click on Database, select Import and click on the source of the database you wish to import.
For this example we will use an EasySlides XML file, but the steps are usually similar when you import from another source. The only major exception is importing through Planning Center Online, so for further instructions on how to use that feature, check Planning Center Online.
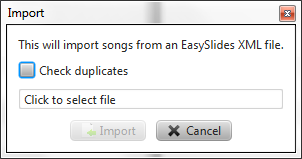
If you already have songs in your database and want to make sure Quelea will not import the songs you already have got, select “Check duplicates”. Otherwise, or after that, click on the text “Click to select file” and browse to the location of the database file.
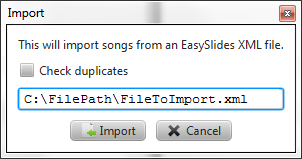
After you have selected the file, the file path will appear. When you select “Import”, Quelea will start to read the file to see what songs are stored within the file.
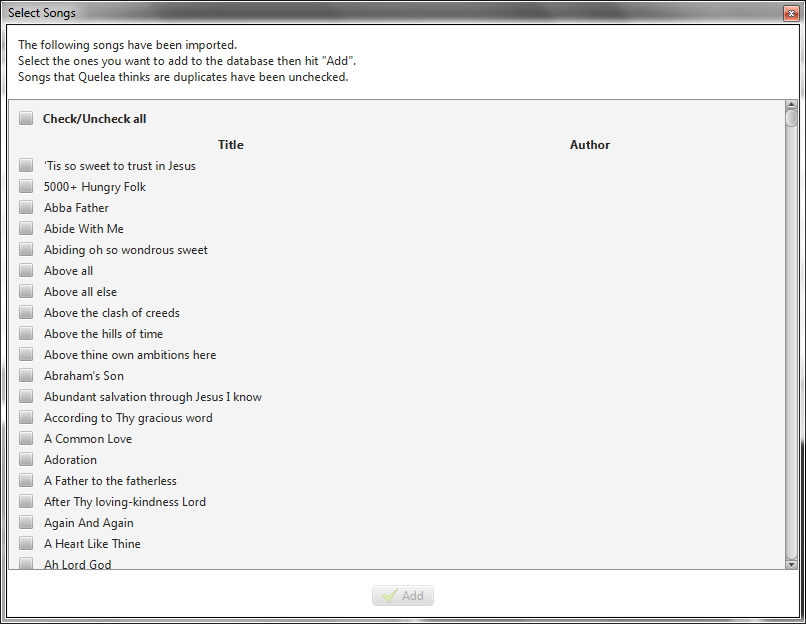
After a while a new dialog will appear, asking you to choose which songs to import. If you want to import all, just select “Check/Uncheck all” and click on “Add”.
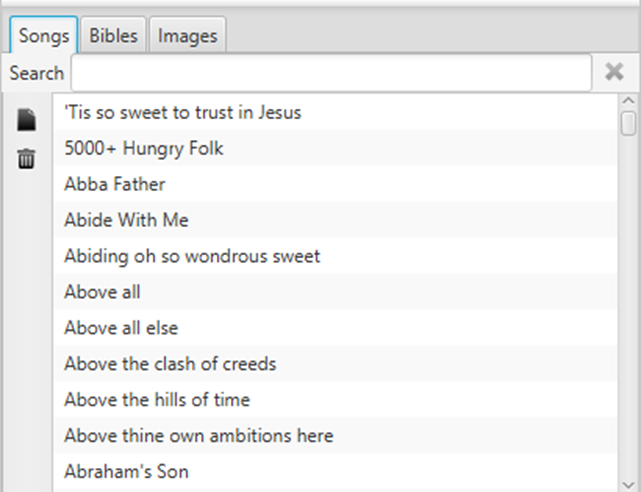
Once Quelea has finished importing the songs they will appear in your database and you are now able to add songs to a schedule and showing them live.
Importing from Elvanto
If you’re importing from Elvanto, you’ll currently need to manually add your Elvanto client ID to your quelea.properties file. Eventually we’ll add this to the options dialog, but this isn’t something that we’ve done as of yet.
Instructions for adding the ID manually can be found here.
← Setting up a projector Adding items to Order of Service →